Frequentlyasked questions.
Installing from the Zendesk Marketplace
To set up the Shopify Premium for Zendesk plugin, please follow the steps below to install and configure the plugin into your Zendesk subdomain.
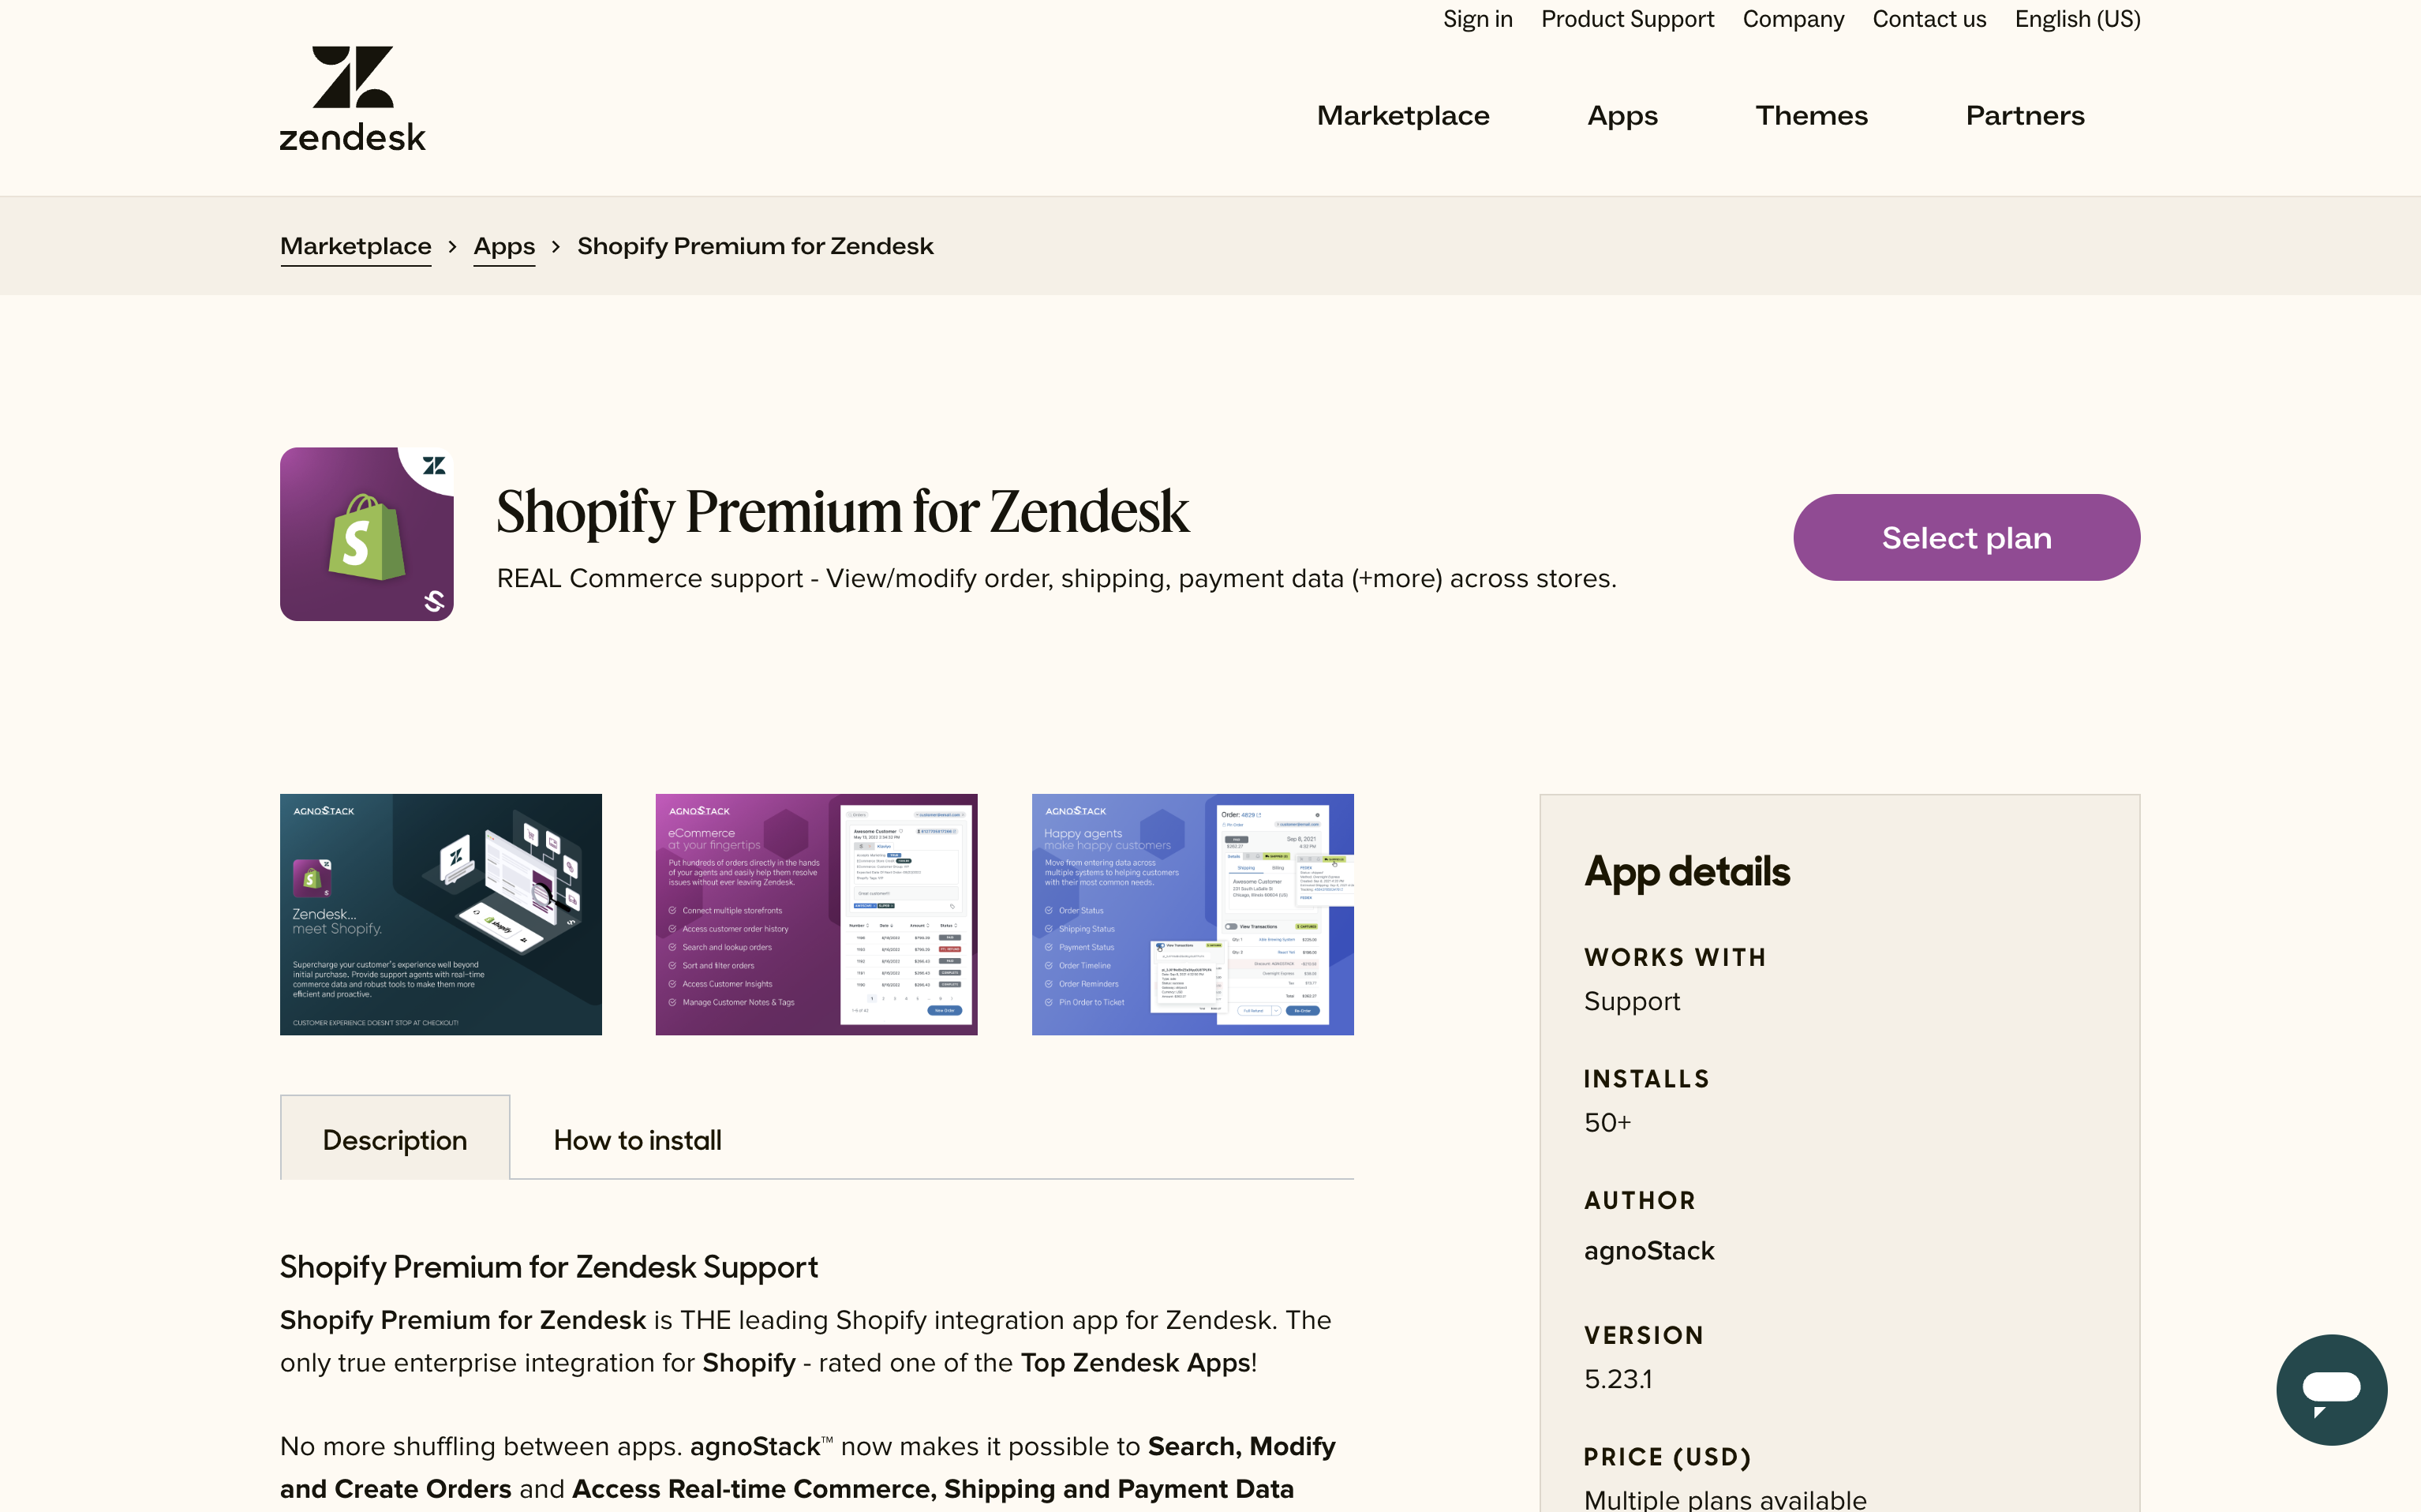
Go to the Shopify Premium for Zendesk listing listing in the Zendesk Marketplace and click the Select Plan button.
In the "Plans & Pricing" section, choose the Free Trial button under the desired plan.
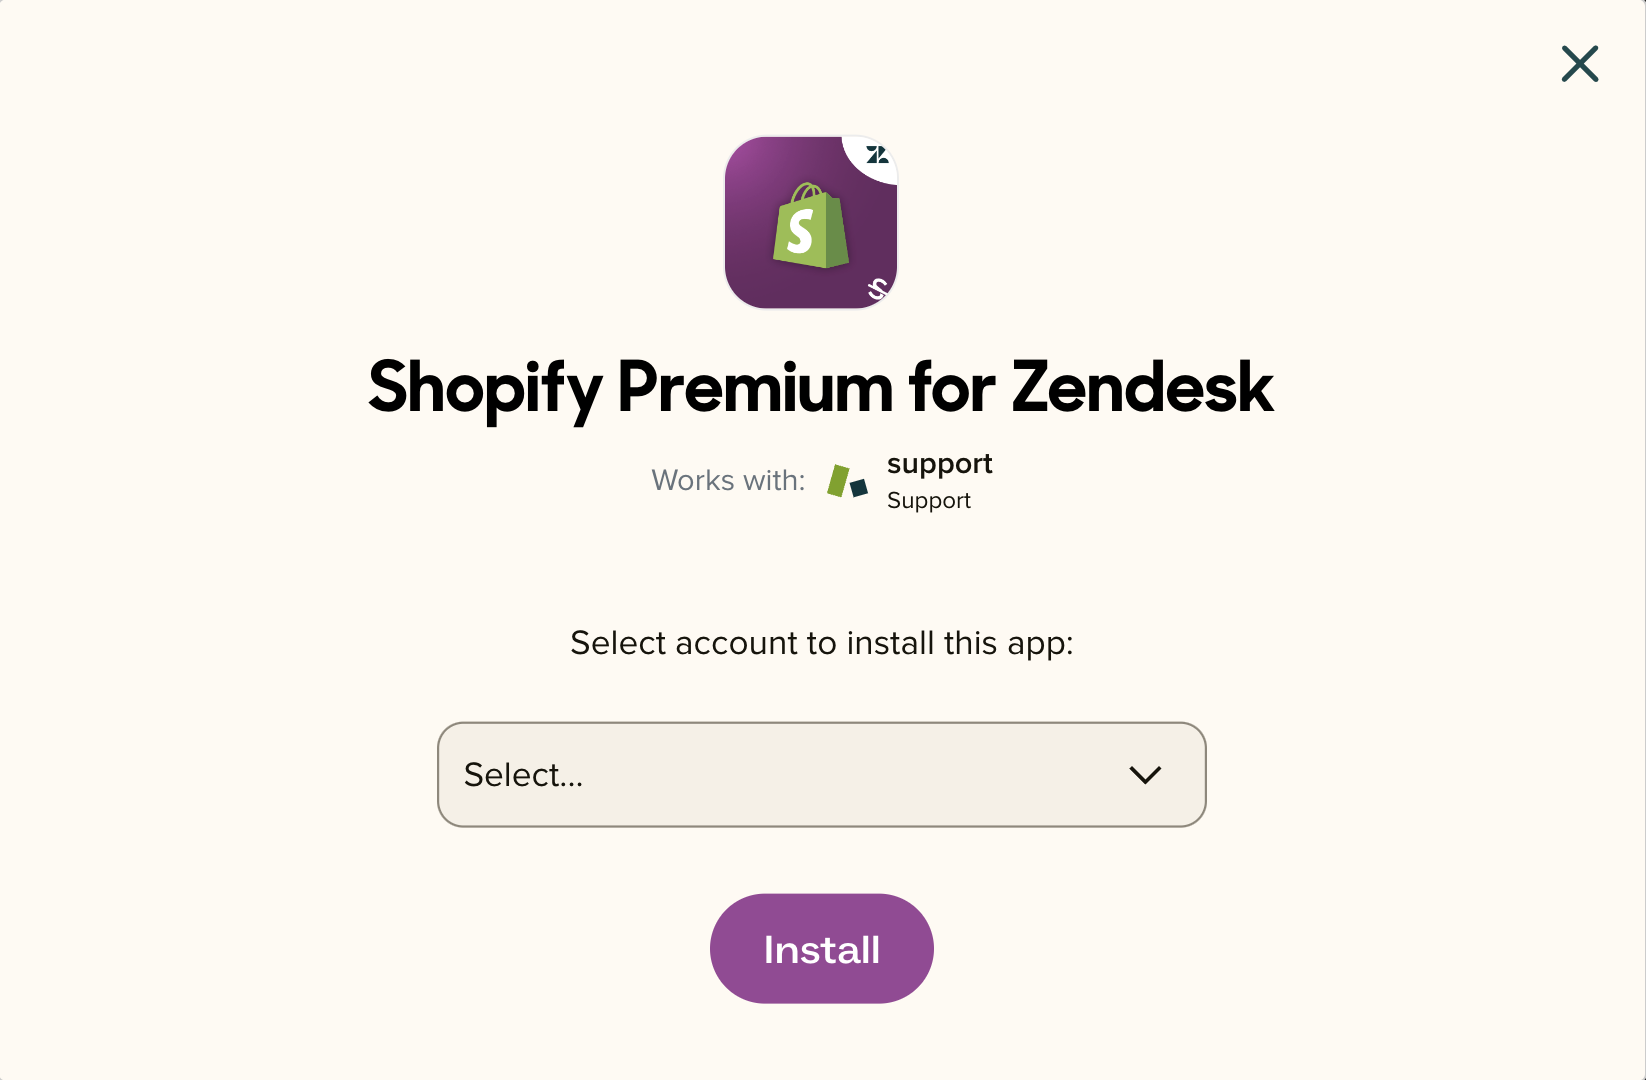
You will then be prompted with a modal window to "Select account to install this app" where you'll select your Zendesk subdomain and then click Install to confirm.
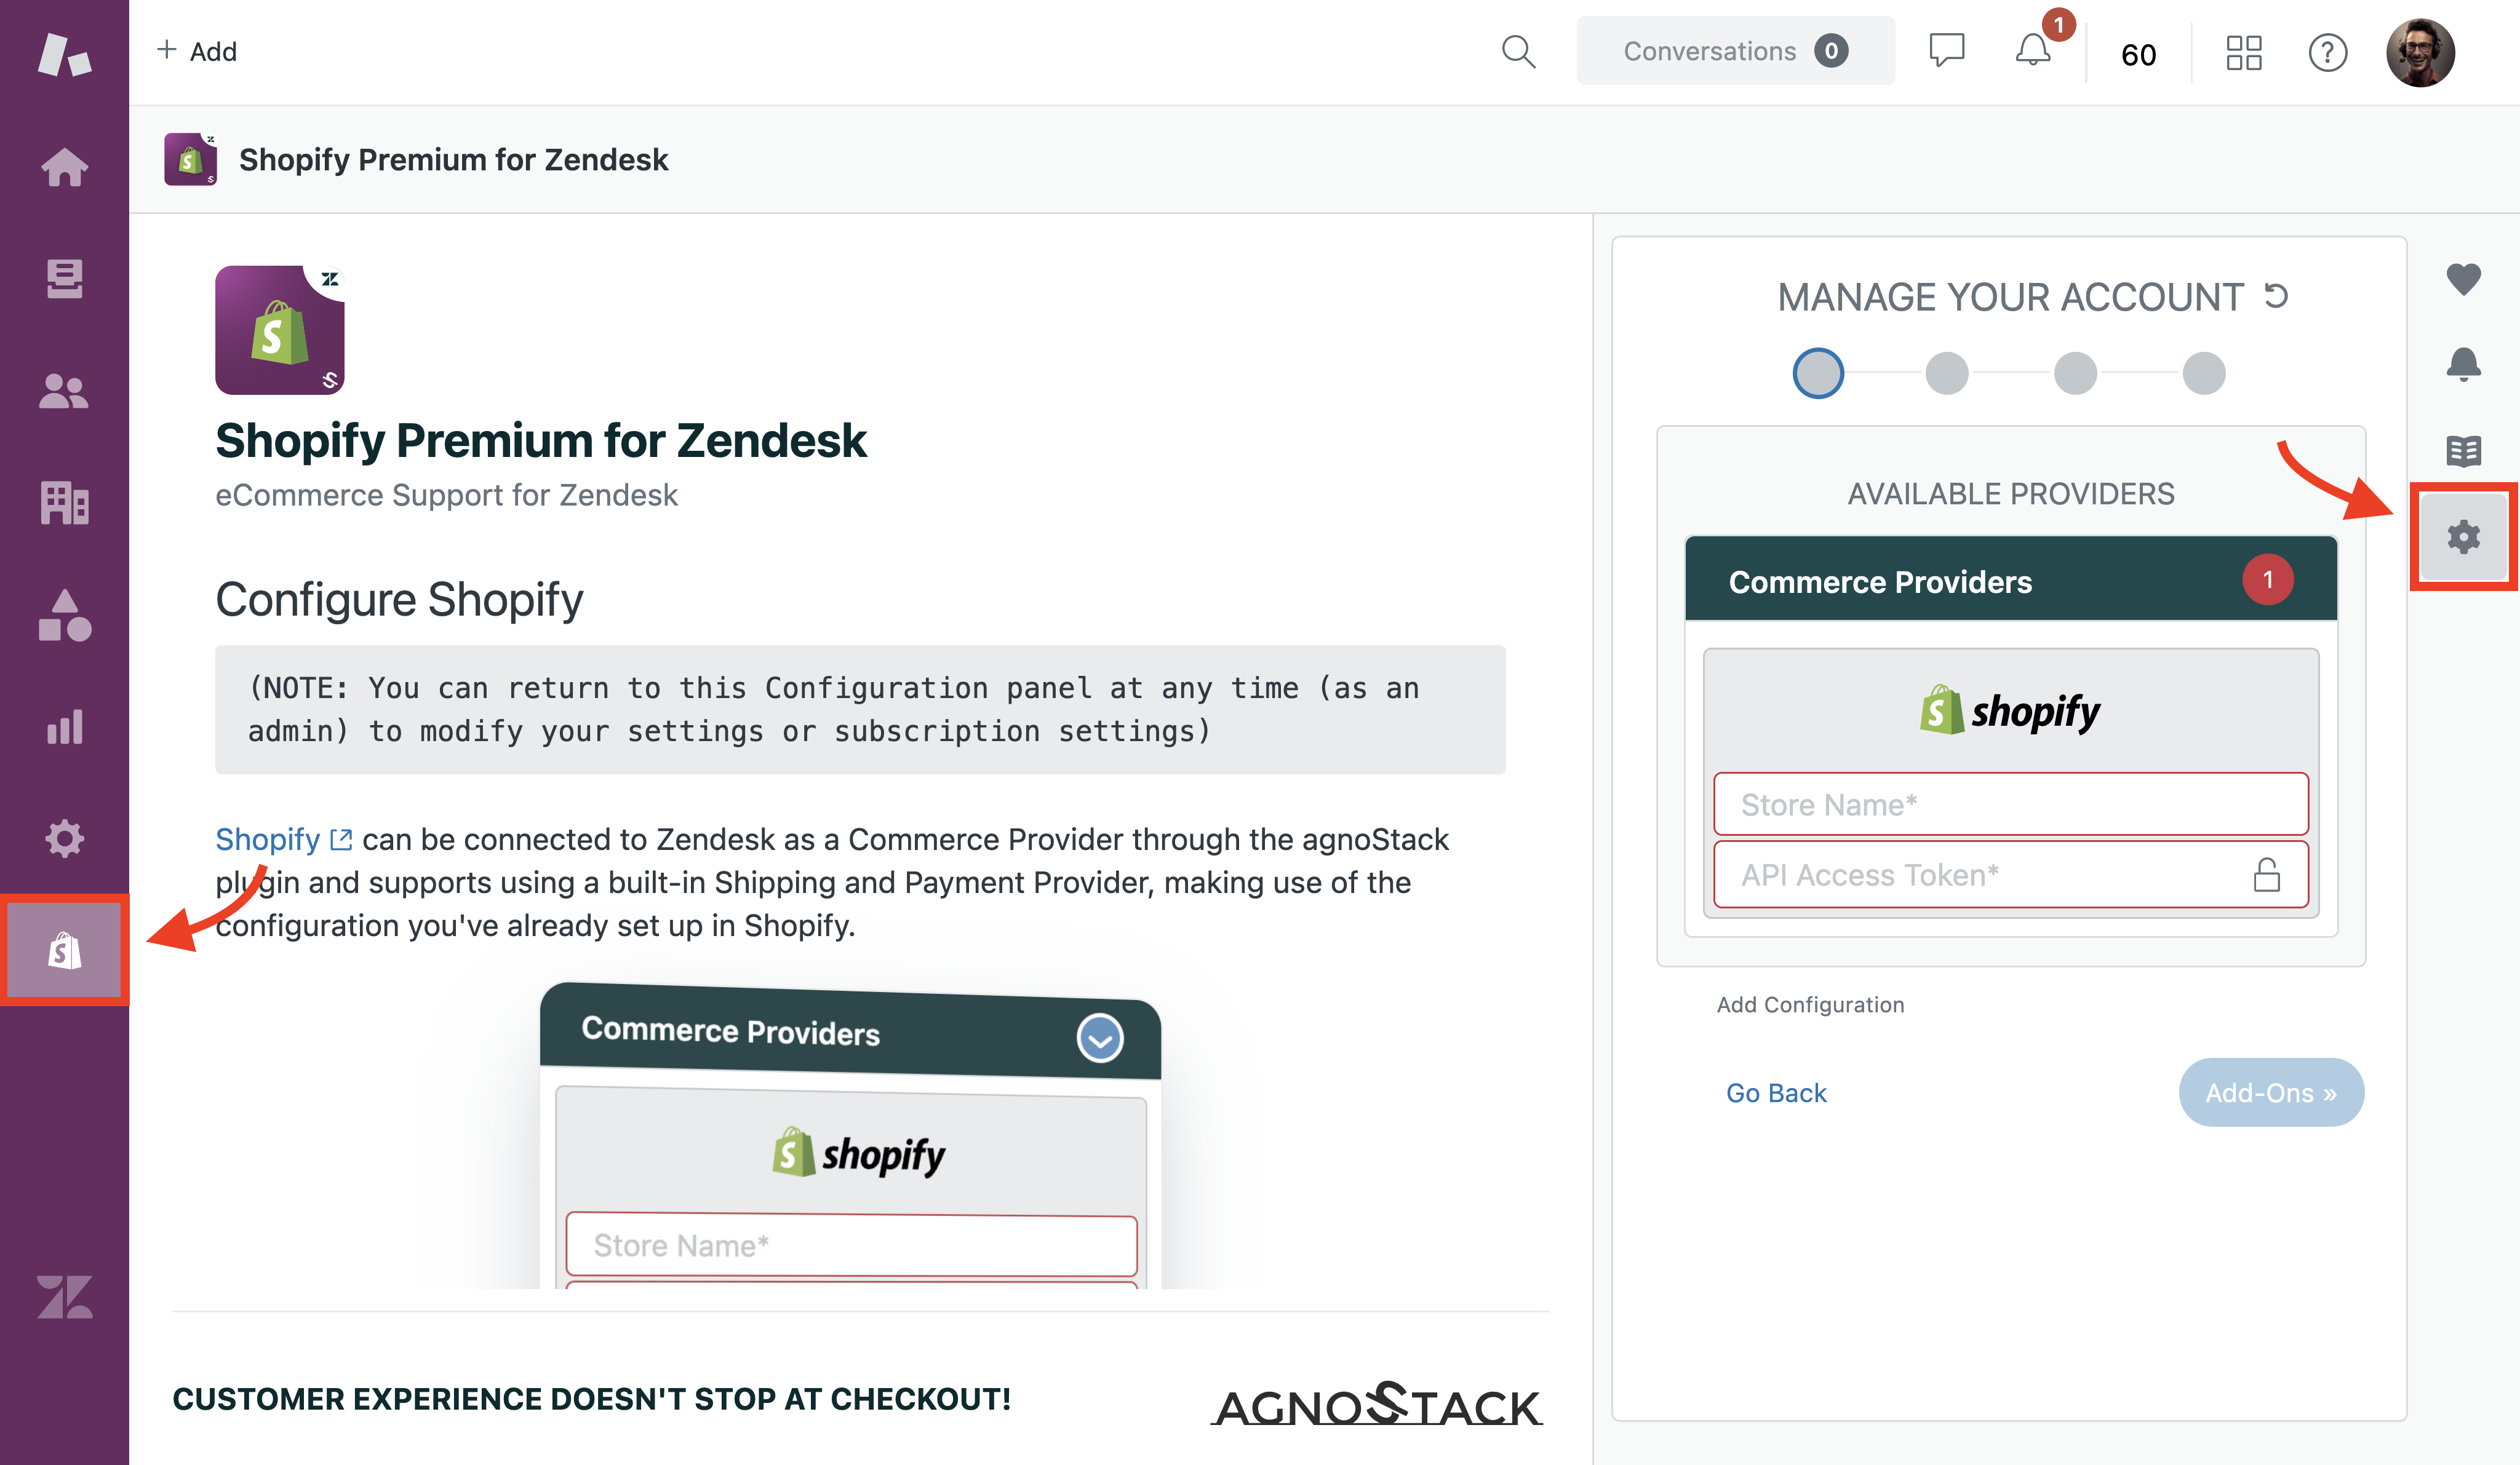
After you've installed the plugin inside of your Zendesk instance, open up the Support Center and click on the Shopify icon in the Zendesk sidebar navigation panel on the left-hand side of the screen.
Once in the fullscreen view of the agnoStack plugin, you will be prompted (as an admin) to Configure Your Account. This configuration panel can be accessed via the Gear icon on the right-hand navigation menu.
Connect/Install Premium Zendesk on your Shopify storefront
If you have already completed the connection process, the configuration panel will automatically authorize your connection, and you can skip to the section below to Configure/Activate the Shopify Premium for Zendesk plugin.

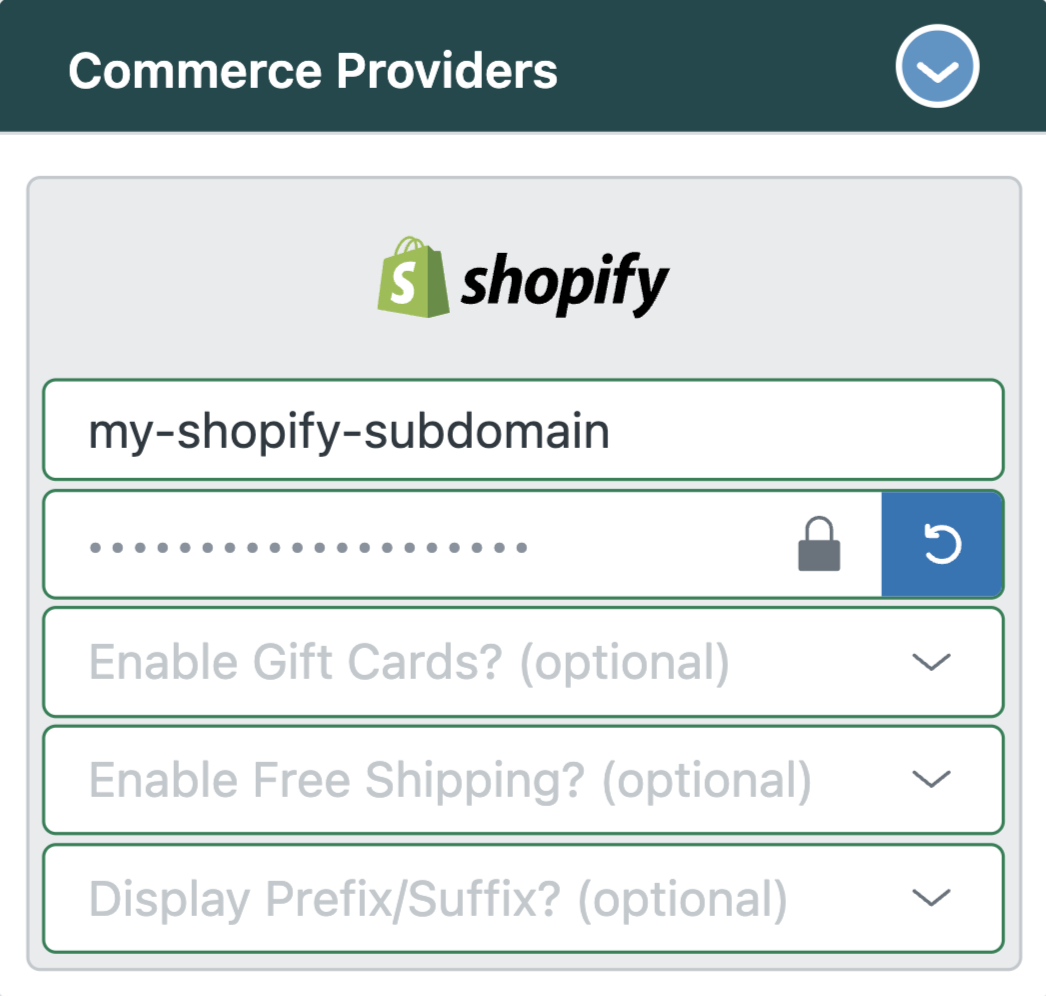
To start the connection process, first enter your Shopify subdomain in the Store Name field. For example, if your Shopify Admin URL is mystorefront.myshopify.com, the value for Store Name should be entered as mystorefront (the Shopify Store Name will be the section of the URL after "https://" and before ".myshopify.com").

Click on Connect to begin the connection process.
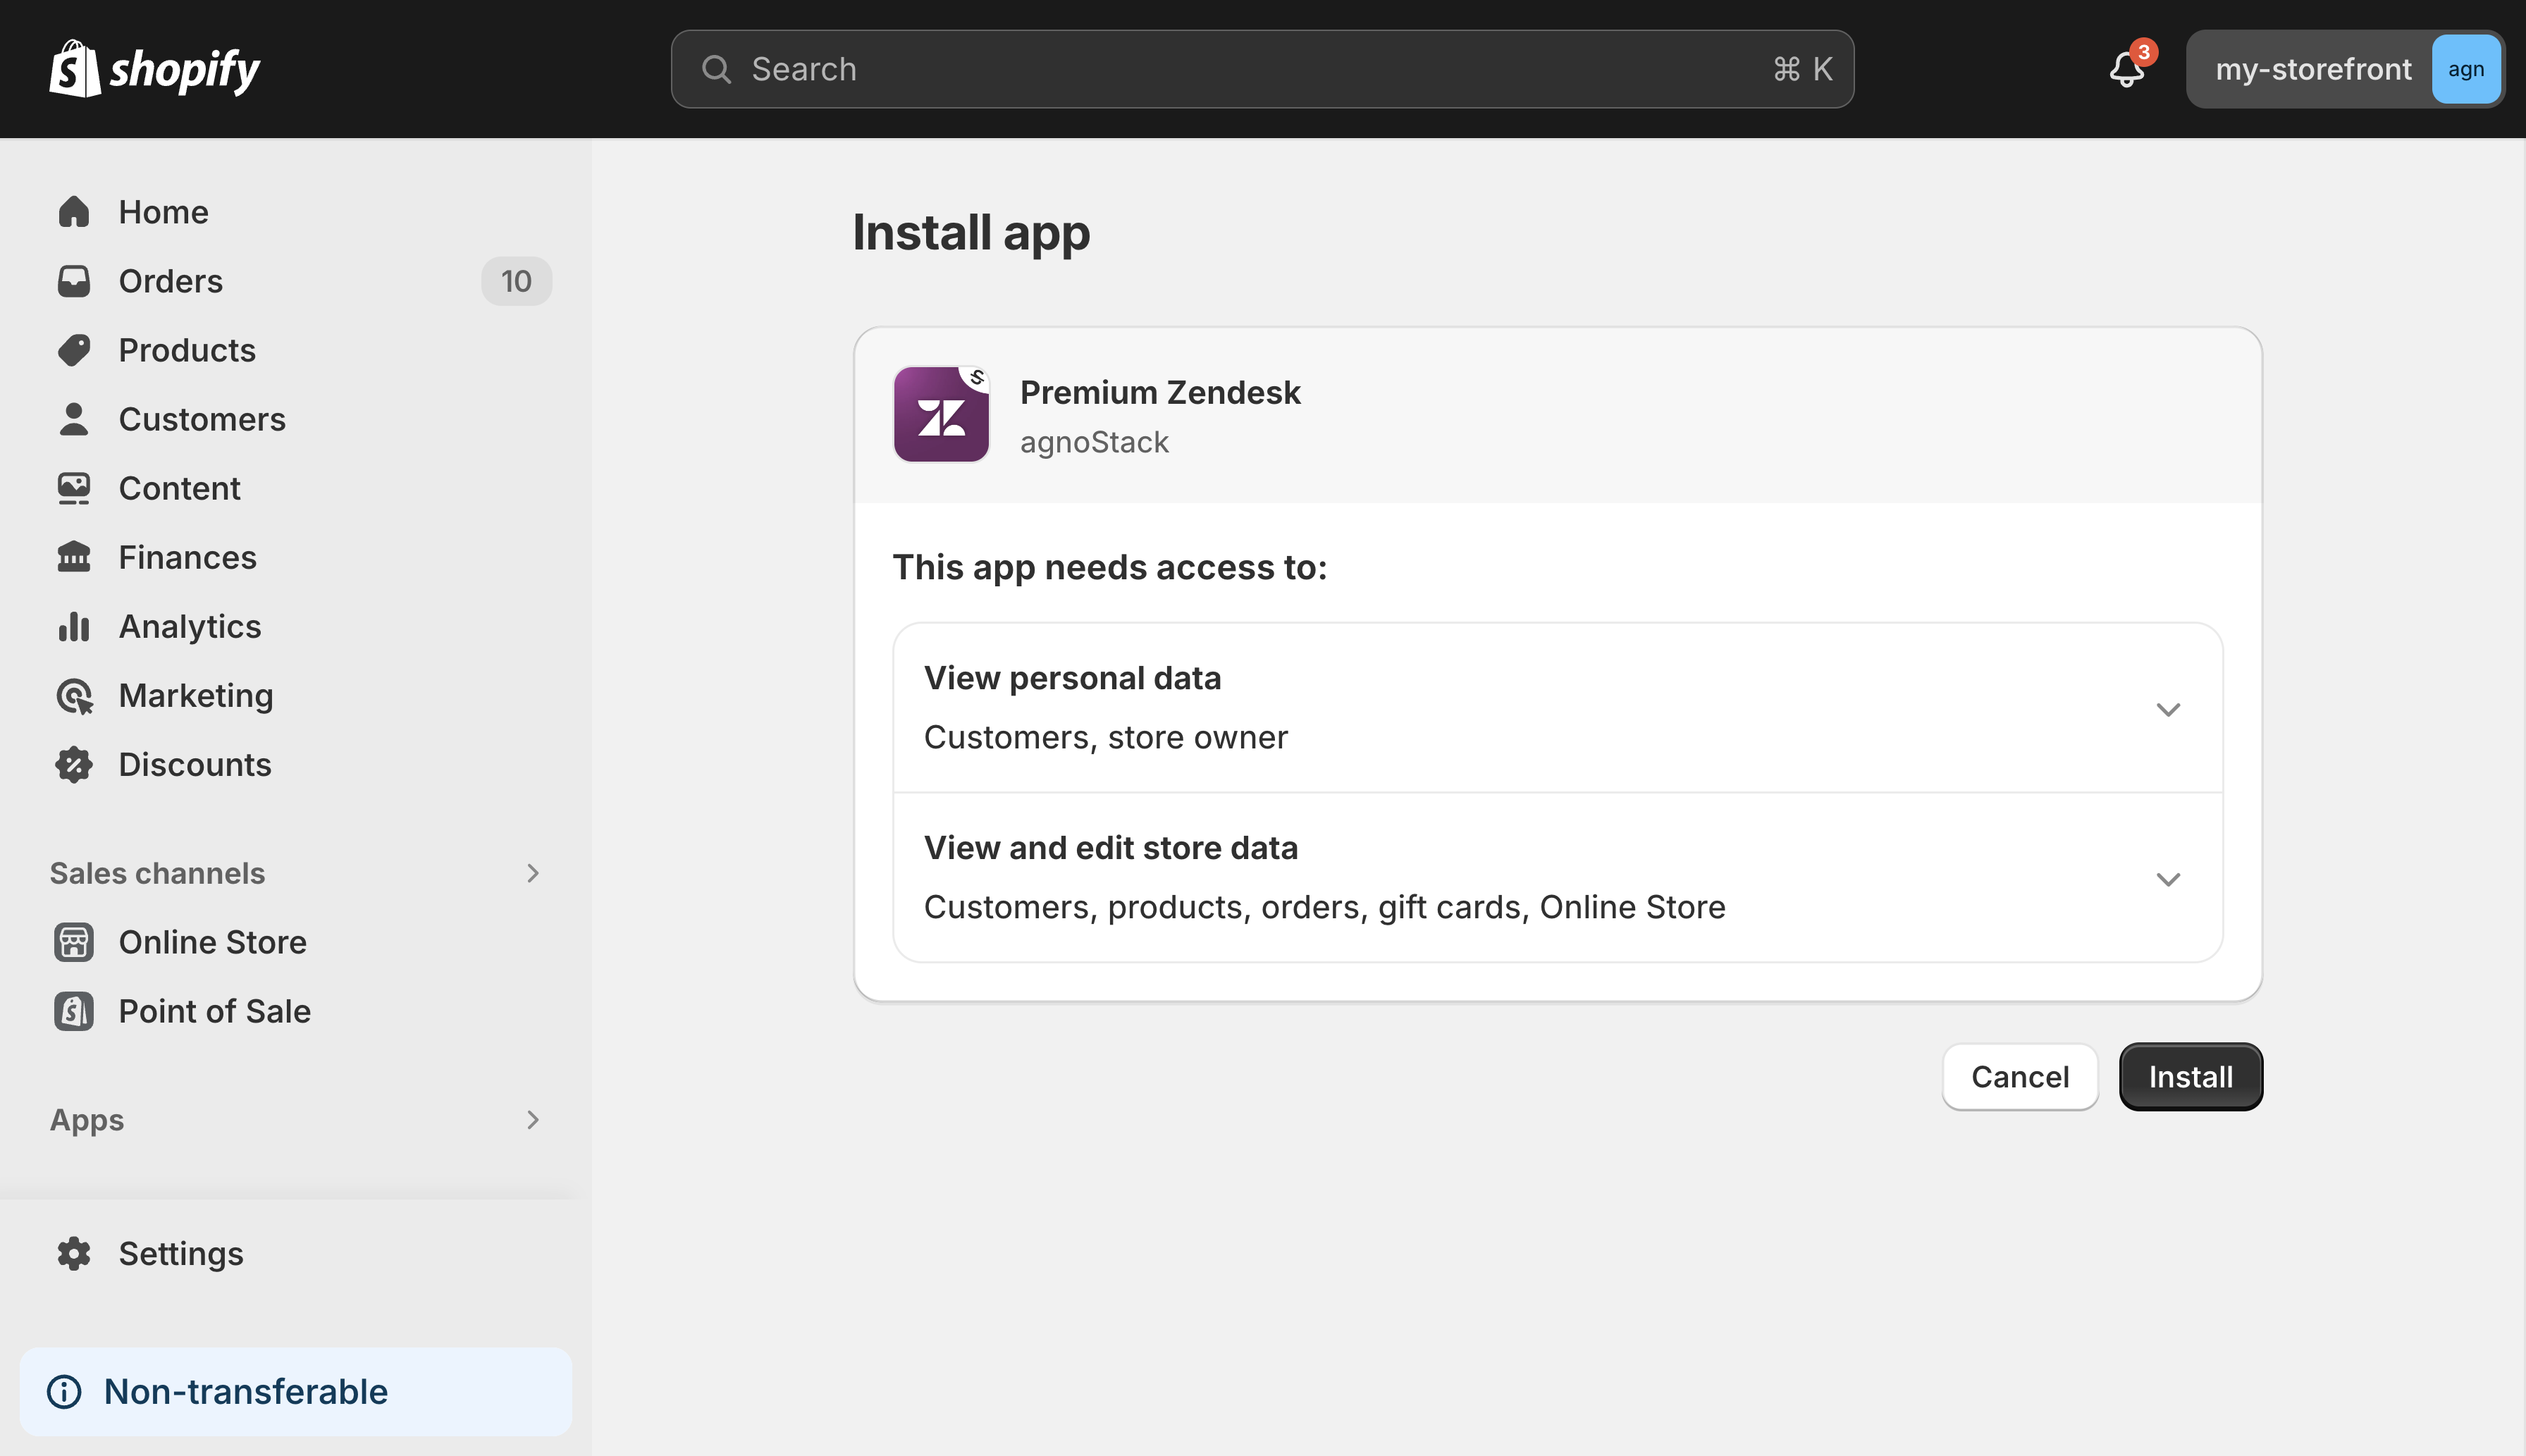
If you have not yet installed the app in the Shopify app store, you will be presented with the app consent screen, and click Install.
You will then be presented with the Installation flow screen, where the agnoStack box will be displayed as Connected. First click Connect in the Zendesk box, until the screen shows it as Connected, then repeat the process by clicking Connect on the Shopify box.
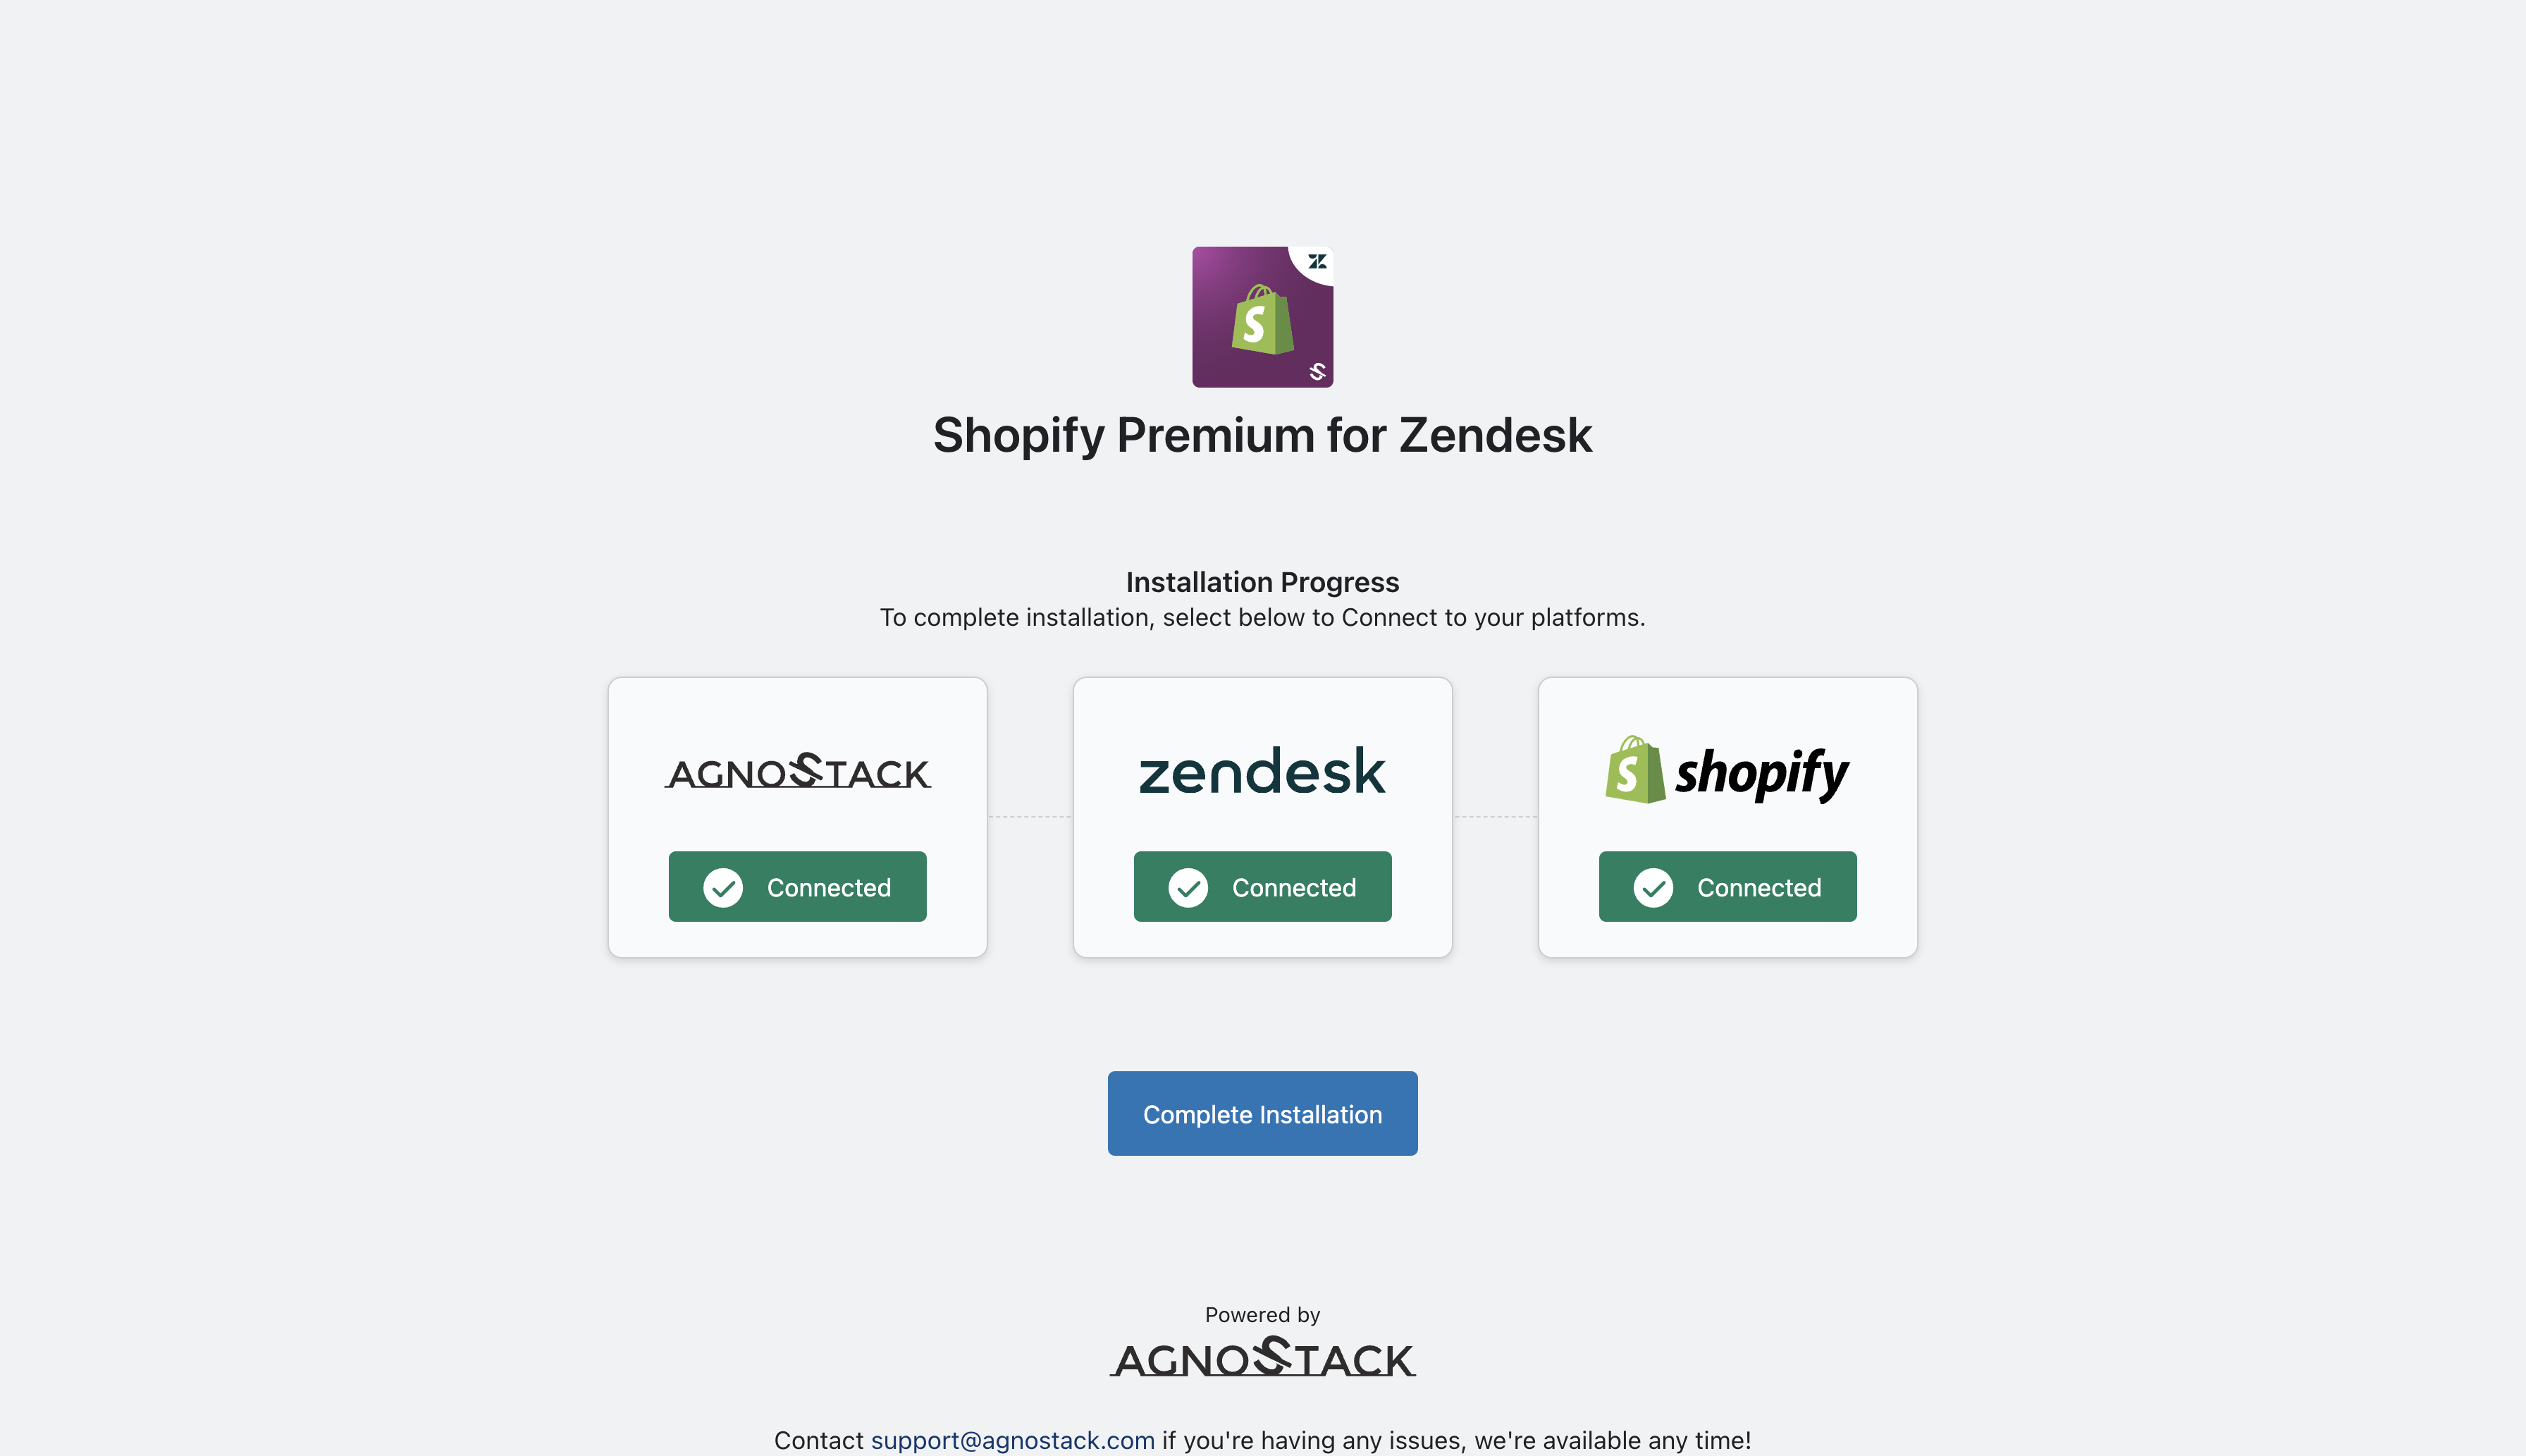
Once all three boxes are Connected, you can click on Complete Installation to configure the app in Zendesk.
(NOTE: You can return to this Configuration panel at any time (as an admin) to modify your settings or subscription settings)
Shopify can be connected to Zendesk as a Commerce Provider through the agnoStack plugin and supports using a built-in Shipping and Payment Provider, making use of the configuration you've already set up in Shopify.
Your Store Name is the same as your Shopify subdomain. For example, if your Shopify Admin URL is mystorefront.myshopify.com, the value for Store Name should be entered as mystorefront (the Shopify Store Name will be the section of the URL after "https://" and before ".myshopify.com").
Once you've completed entering your Provider configuration data, continue on to Selecting Add-Ons, followed by Managing Feature permissions.
Finally, continue through to the final configuration screen and ensure you click Activate to save and apply your changes across your account.